
Let’s say you want to display a message on your LaMetric clock, every time a sales invoice with an amount over 10.000 is posted in Business Central. Or you want to put on a red light at your desk, when some critical BC job task failed.
That’s where webhook triggers come into play.
Using IFTTT
- Create a new applet in https://ifttt.com/create
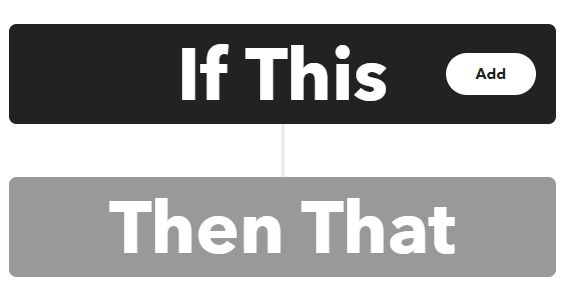
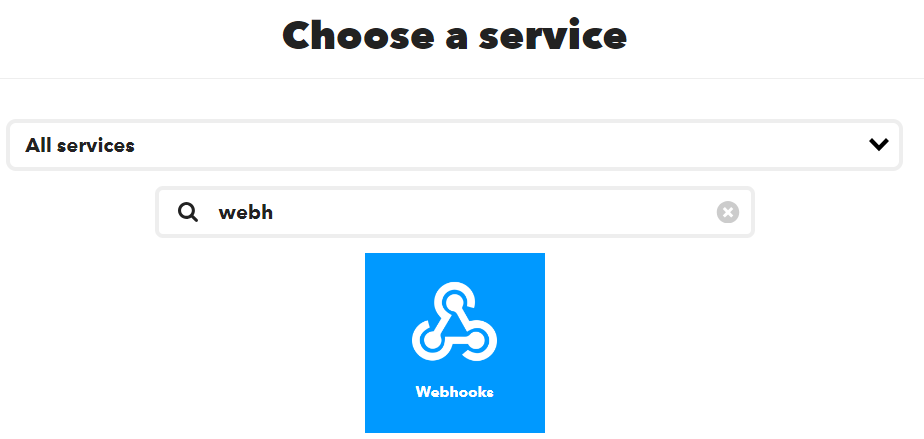
2. In the “If This” part, add the service Webhooks:
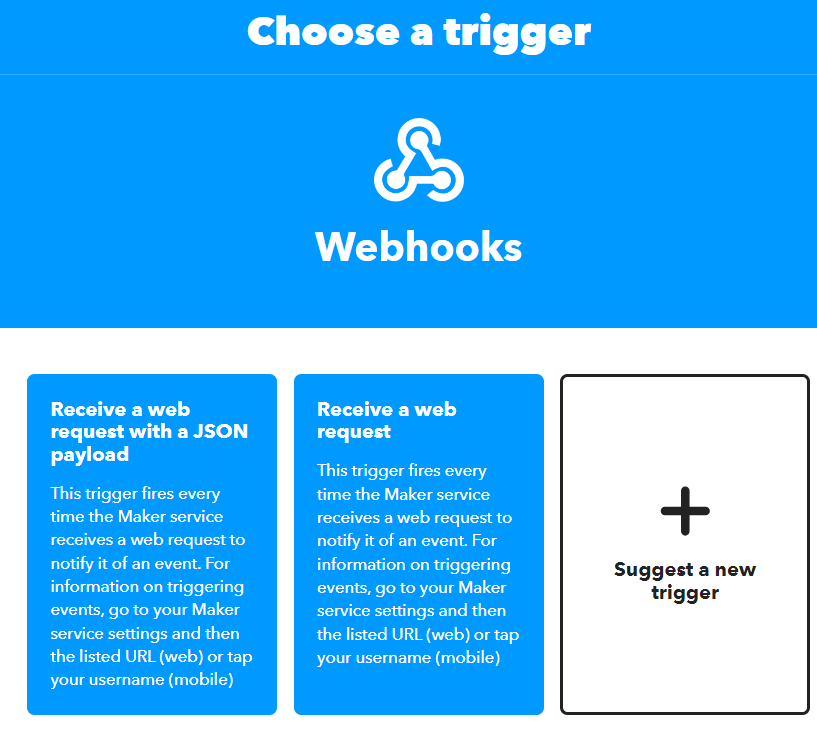
3. Select “Receive a web request” as trigger:
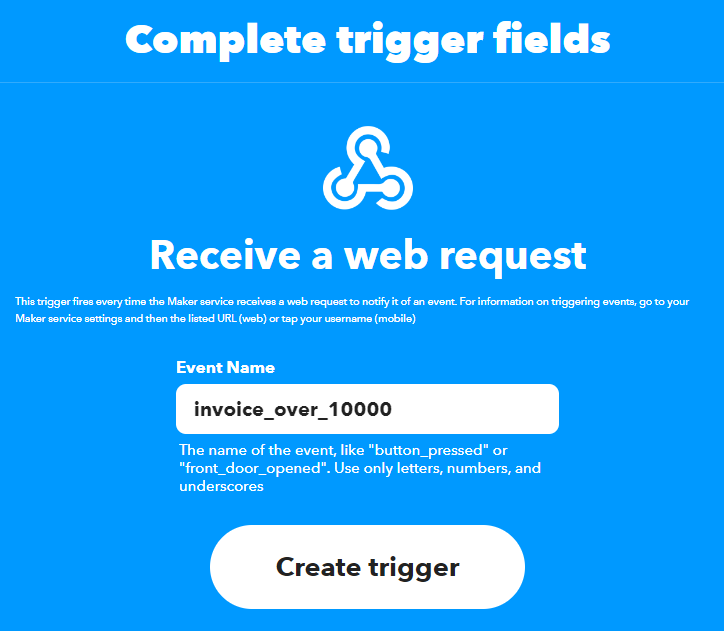
4. Give your webhook a name:
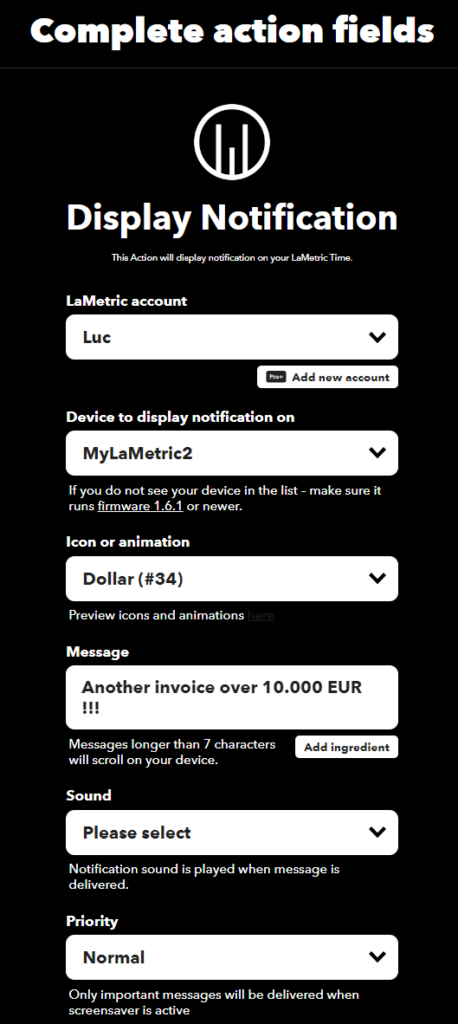
5. In the “Then That” part, you have to select the service that has to execute your task. In this case, I chose the LaMetric integration. You can pick the Philips Hue integration if you want to switch on a light, use Spotify or Sonos to play a song , … .
6. Now you need to find out the complete URL to access this webhook trigger. Using IFTTT, it’s always in this format:
https://maker.ifttt.com/trigger/{event}/json/with/key/{webhooks_key}with {event} being the name you used in step 4.
The {webhooks_key} can be found on the Webhooks service page by clicking on Documentation.
7. Time to write some AL code to call this URL after a sales invoice is posted in Business Central:
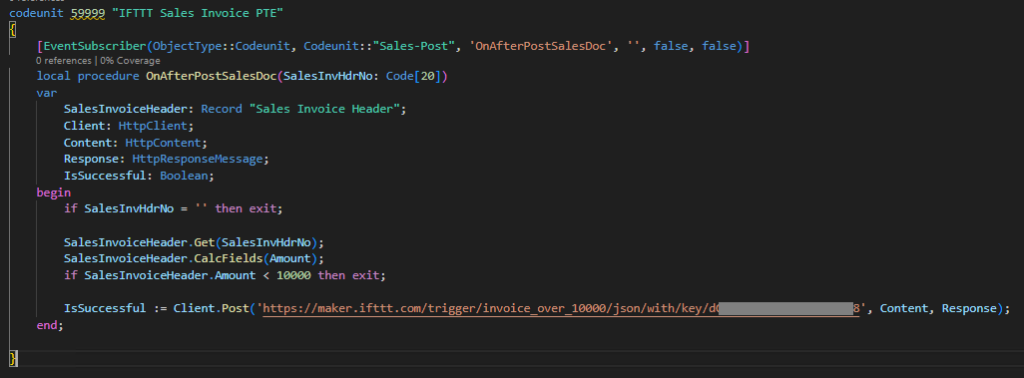
8. Now, every time a sales invoice is posted with an amount over 10.000, the notification is displayed.
Using Home Assistant
When you have HA running, you don’t need the IFTTT service as you can easily create an automation with his own webhook. You need to be able to connect remotely to your Home Assistant instance as this will be probably on a different network than the Business Central server. I have a subscription with Nabu Casa to access my HA installation from remote, but other options (some free) are available (for example the add-on DuckDNS).
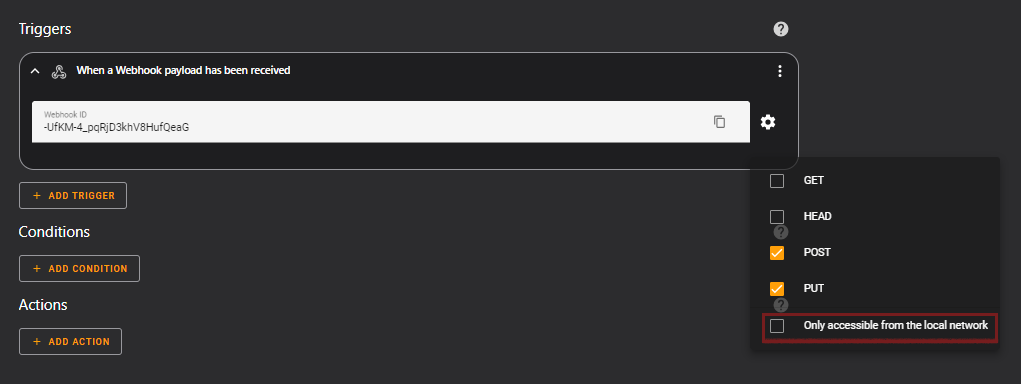
The process to create an HA automation with a webhook trigger is clearly described here. It’s important you de-select the option “Only accessible from the local network” when creating the trigger, otherwise the URL is not accessible from outside your network:
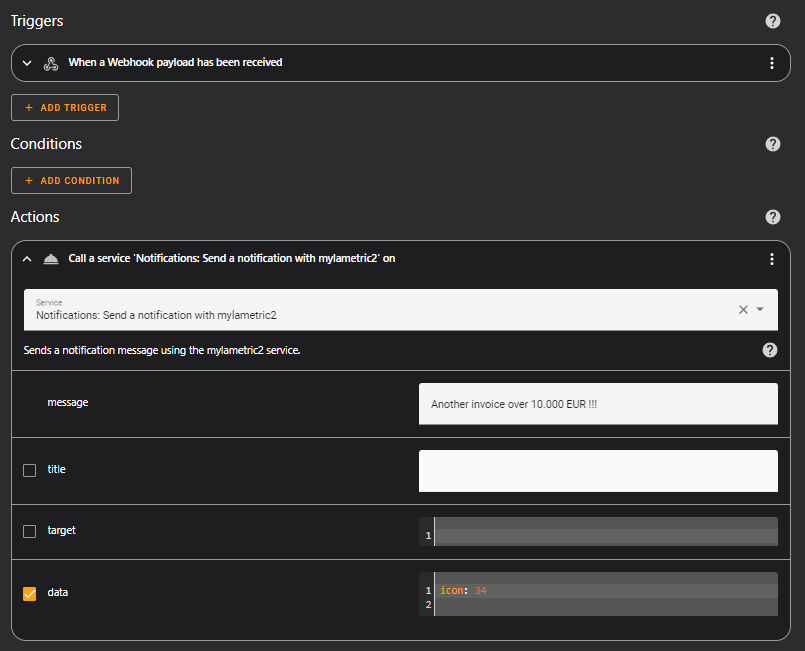
The full automation, with the same behaviour as the IFTTT applet:
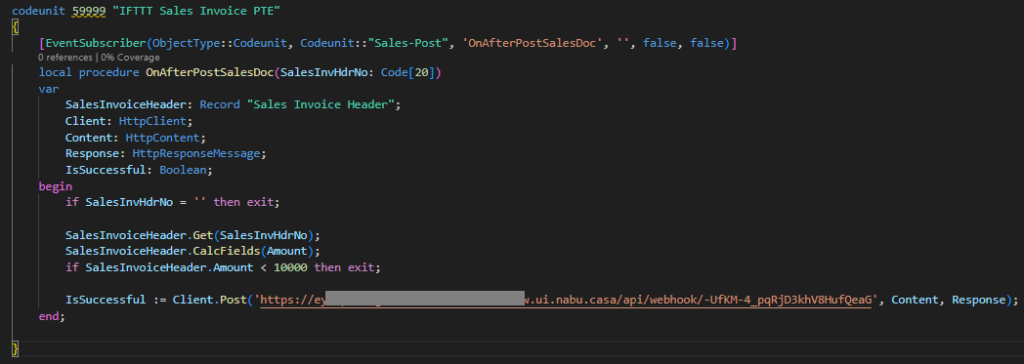
The code in Business Central is exactly the same, only the URL now points to your HA instance and webhook:
Maybe this post can inspire you to connect Business Central with the outside world.